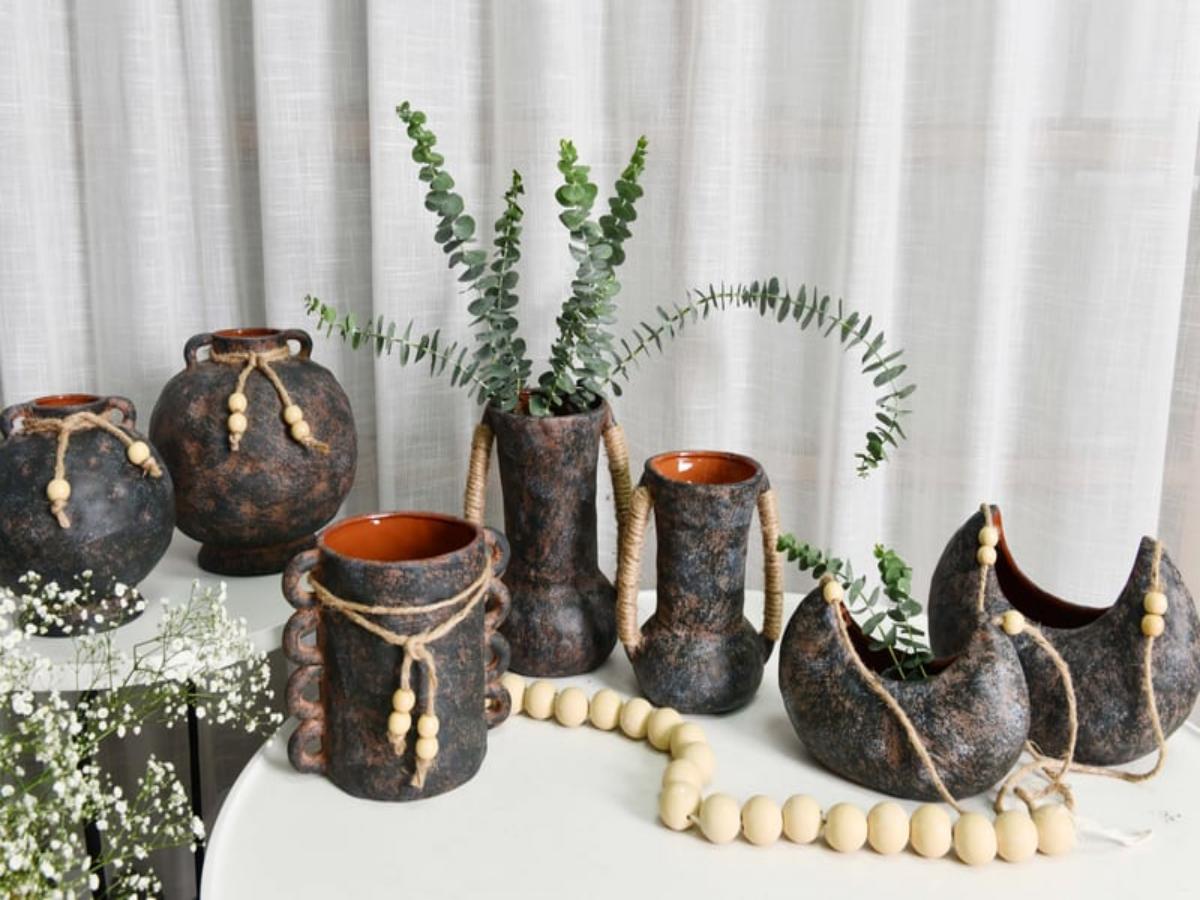
how to paint a terracotta plant pot: A Comprehensive Guide
Terracotta plant pots can add a touch of elegance and style to any garden or indoor space. While the natural reddish-brown color of terracotta is beautiful on its own, painting your plant pots can give them a personalized and unique look. In this article, we will guide you through the process of painting a terracotta plant pot, from preparation to finishing touches.
1. Gathering the Necessary Materials
Before you begin painting your terracotta plant pot, it is important to gather all the necessary materials. You will need:
- Terracotta plant pot
- Acrylic paint
- Paintbrushes (various sizes)
- Painter's tape
- Palette or plate for mixing colors
- Water and a container for rinsing brushes
- Protective gloves
- Newspaper or drop cloth to protect your work surface
- Sealer (optional)
Make sure you have all these materials handy before you start the painting process.
2. Preparing the Terracotta Pot
Before you can start painting, it is important to properly prepare the terracotta pot. Follow these steps:
- Clean the pot: Use a damp cloth or sponge to clean off any dirt or dust from the surface of the pot. This will ensure that the paint adheres properly.
- Prevent water leakage: If you plan to use the painted pot for live plants, seal the inside of the pot with a waterproof sealant. This will prevent water from seeping through the porous terracotta material.
3. Choosing the Right Paint
When it comes to painting a terracotta plant pot, acrylic paint is the most suitable choice. Acrylic paints are water-based, fast-drying, and offer a wide range of colors to choose from. Additionally, they adhere well to terracotta surfaces and provide a durable finish.
Consider the color scheme you want to achieve and select the appropriate acrylic paint colors. You can also mix colors to create your own unique shades.
4. Applying the Base Coat
The base coat is the foundation of your painted terracotta pot. It helps create a smooth and even surface for the subsequent layers of paint. Follow these steps to apply the base coat:
- Start with a clean and dry pot.
- Dip your paintbrush into water and moisten the terracotta surface slightly. This helps the paint adhere better.
- Apply an even layer of acrylic paint to the entire surface of the pot, using long, smooth strokes. Make sure to cover both the interior and exterior of the pot.
- Allow the base coat to dry completely before moving on to the next step.
5. Adding Designs or Patterns
Once the base coat is dry, you can get creative and add designs or patterns to your terracotta pot. Here are a few ideas:
- Use painter's tape to create geometric shapes or stripes. Apply the tape to the pot, paint over it, and then remove the tape once the paint is dry.
- Freehand paint flowers, leaves, or any other design you like using smaller paintbrushes.
- Stencil a design onto the pot using a pre-made stencil or one you create yourself.
Let your imagination run wild and experiment with different patterns and designs to make your terracotta pot truly unique.
6. Applying Additional Layers and Details
If you want to add depth or texture to your painted pot, you can apply additional layers of paint or add details. Here are a few techniques you can try:
- Dry brushing: Dip a dry brush into a small amount of paint and lightly brush it over the surface of the pot. This technique adds texture and highlights raised areas.
- Layering: Apply multiple layers of paint in different colors to create depth and dimension.
- Highlighting: Use a lighter shade of paint to add highlights to certain areas, such as the edges or raised details of the pot.
Remember to let each layer dry completely before adding the next one to avoid smudging or mixing the colors.
7. Sealing the Painted Pot (Optional)
If you want to protect the paint and ensure its longevity, consider sealing the painted pot with a clear sealer. This will help protect the paint from chipping, fading, or peeling over time, especially if the pot will be exposed to outdoor elements.
Choose a sealer specifically designed for use on painted surfaces and follow the manufacturer's instructions for application.
8. Curing and Drying
After you have finished painting and sealing (if desired) your terracotta pot, it is important to allow it to cure and dry properly before using it. Follow these steps:
- Place the pot in a well-ventilated area and let it air dry for at least 24 hours.
- If you used a sealer, allow an additional 24 hours for the sealer to fully cure.
Once the pot is completely dry and cured, it is ready to be displayed and used.
9. Maintenance and Care
To ensure the longevity of your painted terracotta pot, it is important to take proper care of it. Here are a few tips:
- Avoid scrubbing the painted surface too vigorously when cleaning.
- Use a soft cloth or sponge and mild soap to gently clean the pot.
- Avoid exposing the pot to extreme temperatures or direct sunlight for prolonged periods, as this can cause the paint to fade or peel.
By following these maintenance tips, you can enjoy your beautifully painted terracotta pot for years to come.
10. Conclusion
Painting a terracotta plant pot can be a fun and creative project that allows you to personalize your garden or indoor space. With the right materials, proper preparation, and a little creativity, you can transform a plain terracotta pot into a stunning focal point. Whether you choose to paint intricate designs or simply add a splash of color, the possibilities are endless. So, grab your paintbrushes and get ready to unleash your creativity on your terracotta plant pots!

