
how to make terracotta plant pots: A Step-by-Step Guide
When it comes to gardening, nothing adds a touch of natural elegance quite like terracotta plant pots. These clay pots not only provide a beautiful home for your favorite plants, but they also offer excellent breathability and moisture control. If you're looking to add a personal touch to your garden and save some money, why not try making your own terracotta plant pots? In this article, we will guide you through the process, step-by-step, so you can create unique and functional pots for your plants.
Gathering Materials
Before you begin, it's essential to gather all the necessary materials for making terracotta plant pots. Here's a list of items you'll need:
- Clay
- Water
- Plastic sheet or newspaper
- Rolling pin
- Knife
- Cookie cutters or templates
- Sandpaper
- Paint and brushes (optional)
- Clear sealant (optional)
Once you have all the materials ready, you can move on to the next step.
Preparing the Clay
Start by kneading the clay to remove any air bubbles. This will ensure that your pots are sturdy and long-lasting. Once the clay is pliable, shape it into a ball and place it on a plastic sheet or newspaper to prevent sticking.
Rolling and Cutting the Clay
Using a rolling pin, flatten the clay ball until it reaches your desired thickness. Aim for a thickness of around half an inch, as this will provide sufficient strength for the pot. Once the clay is evenly rolled out, use a knife to cut out a circle or any other shape you prefer for the base of the pot.
Forming the Walls
To create the walls of your terracotta pot, cut long strips of clay and attach them to the base. Make sure to smooth the edges to create a seamless look. If you want to add decorative patterns or textures, you can use cookie cutters or templates to cut out shapes and press them onto the clay.
Shaping the Pot
Once the walls are attached, gently curve them inward to create the desired shape of your pot. You can experiment with different shapes, such as cylindrical, conical, or even square. Remember to leave a small opening at the top for the plant to breathe and for water to escape.
Drying and Sanding
Allow your newly formed terracotta pot to dry for at least 24 hours. This will ensure that it sets properly and doesn't crack during the firing process. Once dry, use sandpaper to smooth out any rough edges or imperfections. This step will give your pot a professional finish.
Firing the Pot
To make your terracotta pot durable and water-resistant, it needs to be fired in a kiln. If you don't have access to a kiln, you can take it to a local pottery studio or consider air-drying clay pots instead. Firing the pot will also give it the classic terracotta color.
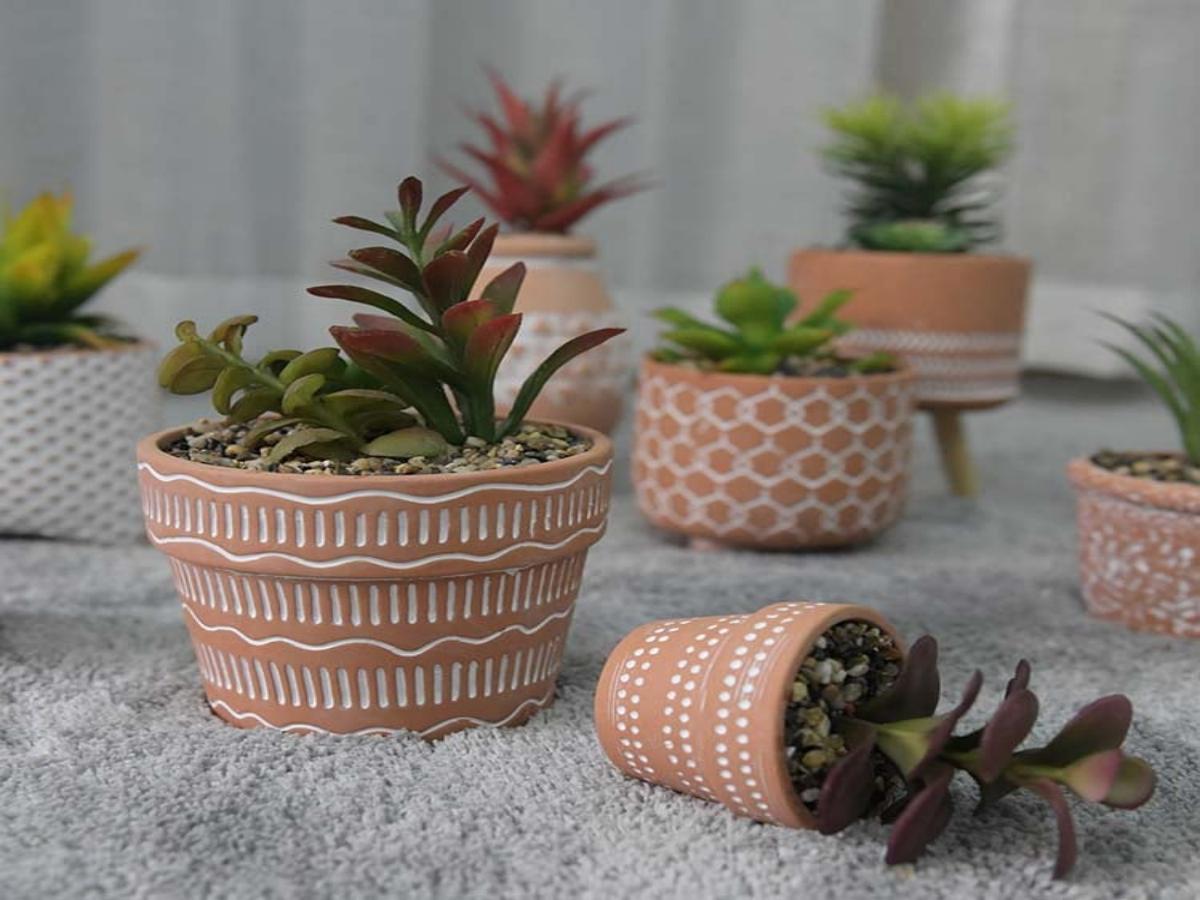
Painting and Sealing (Optional)
If you want to add a personal touch to your terracotta pots, you can paint them using acrylic or ceramic paints. Let your creativity shine by adding unique designs, patterns, or even names of the plants. Once the paint is dry, apply a clear sealant to protect the paint and enhance the longevity of your pots.
Planting in Your Terracotta Pots
After your terracotta pots are completely dry and sealed (if applicable), they are ready to be filled with soil and planted with your favorite greenery. Remember to choose plants that are suitable for terracotta pots, as they prefer the porous nature of the clay and the excellent drainage it provides.
Now that you know how to make your own terracotta plant pots, you can unleash your creativity and enjoy the satisfaction of seeing your plants thrive in your handmade creations. So, roll up your sleeves, gather your materials, and start crafting beautiful and functional pots for your garden!